

Five easy patterns for your first mug



Dots, stripes, waves, flowers and a small sun. Start with one colour and leave a little space between each mark.
 By Andrea · Thursday, 8 October 2026
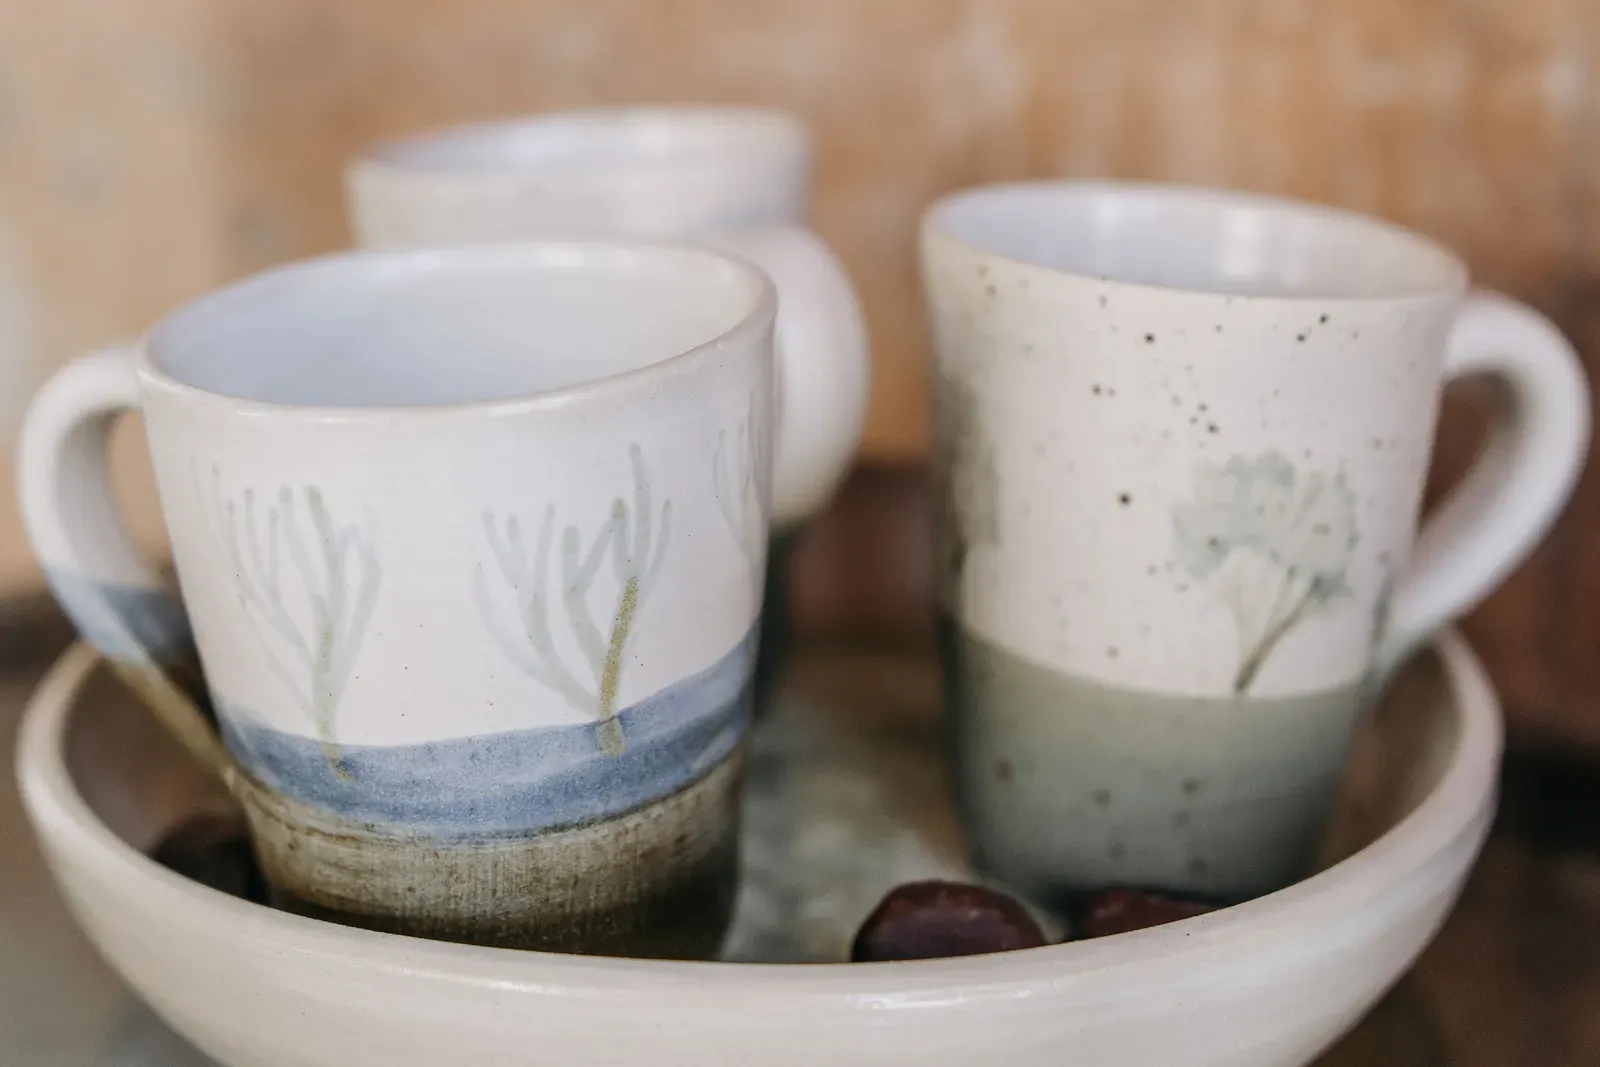
A blank mug can feel a little intimidating. The trick is to pick one simple pattern and repeat it. These five work on mugs, bowls and plates, and none of them needs drawing skills.
1. Dots
Dip the end of your brush handle, or a cotton bud, in paint and press it onto the mug. Scatter dots all over, line them up in rows, or make small flowers with five dots around a center. Change color every row for a playful look.
2. Stripes
Stripes look great around a mug. Rest your hand on the table, hold the brush still and turn the mug slowly. Thick or thin, straight or slightly wobbly, they all work. Pick two colors you like together and repeat them.
3. Waves
Waves are a nod to the Algarve sea, and to our logo. Paint a row of soft curves near the bottom of the mug, then add a second row in a lighter blue above it. They don't need to match: hand-painted waves look better when they're a little uneven.
4. Simple flowers
Paint five small petals around a dot, or one leaf shape repeated along a stem. Start with the flowers, then fill the gaps with green leaves.
5. A little sun
A circle and a few short rays, that's all. Paint one big sun on the front of your mug, or small suns scattered around it. Yellow and orange together give it a warm glow.
A few tips before you start
- Choose two or three colors. Fewer colors make a pattern look calm and finished.
- Sketch first with a light pencil line. It burns away in the kiln.
- Paint two or three thin coats for strong color.
- Leave the base unpainted: it sits on the kiln shelf during firing.
Want to try one? Pick a date below and choose your mug when you book.
